Decaf Espresso With No Crema? Here Is Why (And the Fix)
As an Amazon Associate I earn from qualifying purchases.
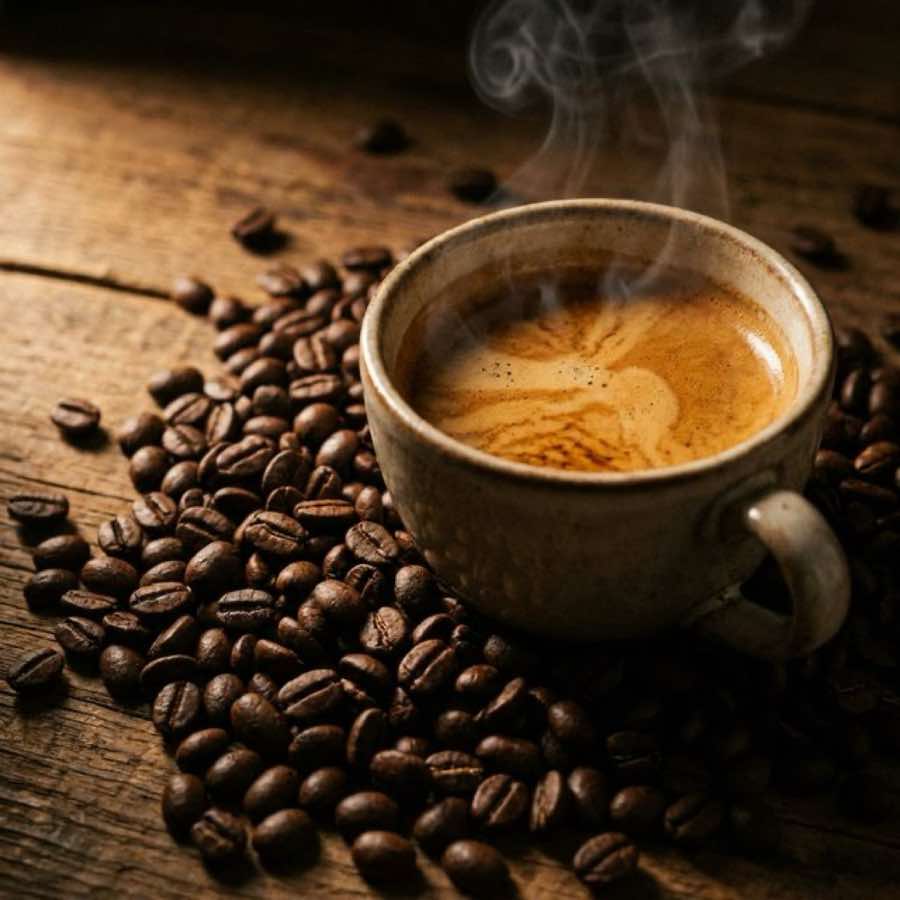
You dial in a bag of caffeinated beans, get a beautiful 30-second shot, then swap to decaf on the same setting. The shot blows through in 12 seconds, the crema is pale and gone within a minute, and it tastes thin and sour.
Nothing is broken. This is decaf behaving exactly as decaf behaves, and once you understand the mechanism the fix is straightforward.
The mechanism
Decaffeination happens to green coffee, before roasting. Whether the process is Swiss Water, CO2, ethyl acetate, or methylene chloride, the beans get soaked, swollen, and dried again. That cycle permanently alters the bean's internal structure.
Two consequences follow, and both show up in your basket.
The bean is more brittle and more porous. Ground up, decaf produces a particle distribution that offers less resistance to pressurized water than caffeinated coffee ground on the same setting. Less resistance means faster flow, and faster flow means less contact time and lower extraction. That is your 12-second gusher.
It off-gasses CO2 faster. Crema is emulsified CO2 released from the coffee under pressure. More porous beans release that CO2 more quickly after roasting, so at any given number of days past roast, a decaf will have less gas left to give than a caffeinated coffee. Pale, thin, short-lived crema on decaf is normal even when the shot is otherwise perfect.
Put those together and the picture is clear: your shot is running fast and the coffee has less crema potential to begin with. You can fix the first problem completely. The second you can only manage.
The fix, in order
Work through these in sequence. Do not change two things at once.
1. Grind finer, and further than you think
This is 80% of the fix. Go two to four steps finer than your caffeinated setting to start, then keep going until the shot time lands where you want it. Many people stop too early because the size of the adjustment feels wrong.
Change one to two steps at a time and pull a shot after each change. Chasing it in one giant jump means you overshoot and cannot tell which direction to go.
If you run out of adjustment before the shot slows down, that is a grinder limitation, not a technique failure. Cheap grinders have coarse steps and run out of usable resolution exactly at the fine end where decaf lives. See best espresso grinders under $500.
2. Set a target and measure against it
Start at 18g in, 36g out, 25-30 seconds for a 58mm basket, or 18g in, 36g out in a 54mm Breville basket. That is a 1:2 ratio.
You cannot fix what you are not measuring. A scale under the cup is not optional for this — you need to see yield and time together, because a shot can hit 36g in 15 seconds and look fine in the cup while being badly under-extracted. Our scales guide covers the options.
3. Fix distribution before you blame the grind
A fragile decaf puck channels more readily than a caffeinated one, and channeling looks exactly like "grind too coarse" — fast shot, thin crema, sour taste — while being a completely different problem.
Use a WDT tool to break up clumps before tamping, tamp level, and do not tap the portafilter after tamping. Our WDT and puck prep guide covers the full routine.
If you are getting spray or squirting from a bottomless portafilter, it is channeling, not grind.
4. Check the bean's age
Decaf ages faster in the way that matters here. Whole bean decaf is at its best in the first three weeks after roast and workable to about four to six weeks. Pre-ground decaf loses meaningful crema potential inside two weeks.
If your bag has no roast date, only a best-by date, you have no way to know. That alone is reason to switch roasters.
5. Raise the brew temperature slightly
If the shot time is right and it still tastes hollow, try one to two degrees Celsius warmer. Decaf often benefits from the top of the usual range because the extraction it can achieve is inherently a little lower. On machines without PID this means temperature surfing; on a Bambino or Barista Touch it is a setting.
6. Only then consider hardware
A precision basket with uniform hole diameter removes the preferential flow paths that make channeling worse, and a puck screen buffers the initial gush of water that fragile decaf pucks handle poorly.
These are real improvements. They are also small compared to steps 1 through 4, and buying them first is the classic way to spend money without fixing anything.
What "fixed" actually looks like
Set expectations honestly. A well-dialed decaf shot at 1:2 in 25-30 seconds will have:
- Crema that is real but thinner and paler than caffeinated coffee. Hazelnut rather than deep reddish-brown.
- Crema that fades faster — a minute or two rather than several.
- Full body and sweetness in the cup, which is the part that matters.
If you are getting good body and sweetness with modest crema, you are done. Chasing caffeinated-level crema on decaf is chasing something the bean cannot give you.
The one thing people miss
Every time you open a new bag of decaf, re-dial. Do not assume last bag's setting carries over.
Decaf varies more between lots and processes than caffeinated coffee does. A Swiss Water Colombian and an EA Colombian from the same roaster will want different grind settings, and the same bag will drift as it degasses over three weeks. Budget one or two throwaway shots when you open a bag and you will stop being surprised.
If your shots channel while you re-dial, a puck screen helps even out the water. The one on our filters and baskets page for 58mm portafilters is the Normcore 58.5mm puck screen.
As an Amazon Associate I earn from qualifying purchases.
For the full dial-in routine including ratio adjustments and taste troubleshooting, see dialing in decaf espresso. Machine-specific starting points are in our Breville Bambino decaf settings and Gaggia Classic Pro decaf settings guides.
Frequently Asked Questions
Why does my decaf espresso have no crema?
Two reasons compound. Decaffeination softens the bean's cell structure, so the grounds resist water less and the shot runs fast, which under-extracts and produces thin crema. Separately, more porous decaf beans off-gas CO2 faster after roasting, and CO2 is what makes crema. Even a well-pulled decaf shot has paler, shorter-lived crema than caffeinated.
How much finer should I grind decaf?
Expect to go two to four steps finer than the same roast level in caffeinated coffee, and on some grinders considerably more. Change one to two steps at a time and pull a shot between each change. If you run out of adjustment before the shot slows down, your grinder lacks resolution at the fine end, not your technique.
Is thin crema on decaf a sign of stale beans?
It can be, and decaf goes stale faster in a way that specifically affects crema. Because the beans are more porous, they release CO2 more quickly, so decaf that is six weeks past roast will show noticeably weaker crema than caffeinated coffee of the same age. Buy smaller bags more often.
Does a puck screen help with decaf?
It helps with the channeling that fragile decaf pucks are prone to, by buffering the initial gush of water. Published testing puts the extraction gain at roughly 0.4 percentage points on average, so treat it as a consistency aid rather than a cure. Grind size and distribution matter far more.
Best Decaf Espresso Editorial Team
Research-based reviewsWe research every machine, grinder and bean from manufacturer specs, manuals and long-term owner reports, and we read them with decaf in mind. We don't run in-house tests.
You Might Also Like
How to Dial In Decaf Espresso: The Definitive Guide
Decaf beans grind, flow, and extract differently from regular coffee. This complete guide walks you through dialing in decaf espresso on any machine, step by step.
Read More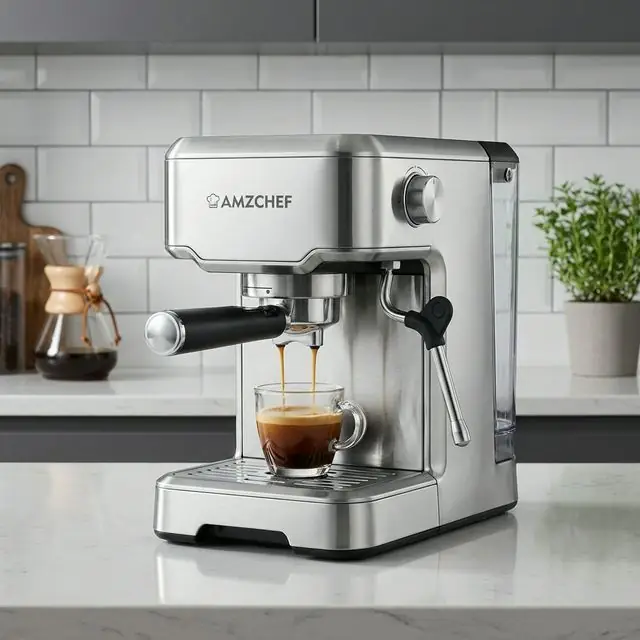
Is a 20 Bar Espresso Machine Good?
Espresso extracts at about 9 bars at the puck, so what does a 20-bar rating actually buy you? Here is what the number really measures, why marketing loves it, and what to look at instead.
Read More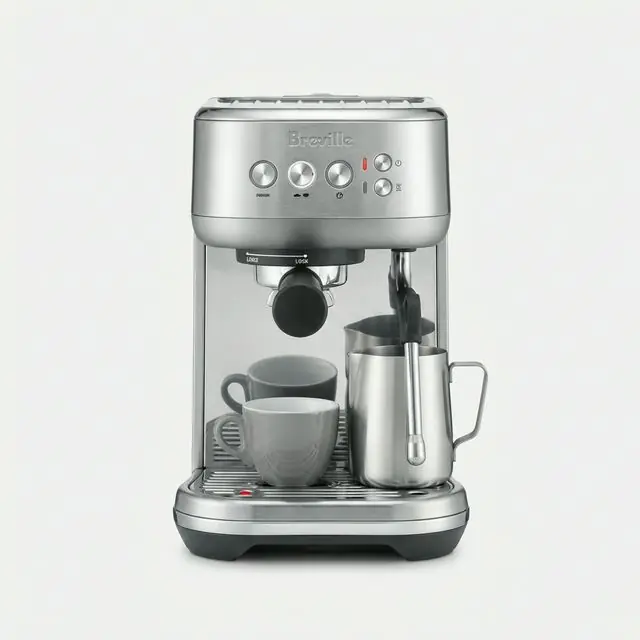
Best Espresso Machine for Decaf (2026)
Decaf is the hardest bean type to dial in. We ranked the espresso machines that make it easy, and explain the three features that actually matter for decaf.
Read MoreEnjoyed this article?
Follow us for more practical espresso and decaf insights delivered to your inbox.