How to Make Espresso at Home
Making espresso at home is one of the most rewarding kitchen hobbies you can pick up—and one of the most frustrating if you don't know where to start. This guide is your practical roadmap. We'll walk through what to buy, how to set it up, and how to pull your first real shot. If you want the theory behind extraction, ratios, and grind science, check out our beginner's guide. This page is about getting your hands dirty.
What You Need to Get Started
At minimum, you need three things: an espresso machine, a burr grinder, and fresh beans. A scale accurate to 0.1 grams is technically optional but practically essential—it's the single cheapest upgrade that makes the biggest difference. A tamper usually comes with your machine, though upgrading to a calibrated one later is worthwhile. Beyond that, everything else is nice to have but not necessary on day one.
Choosing Your Machine
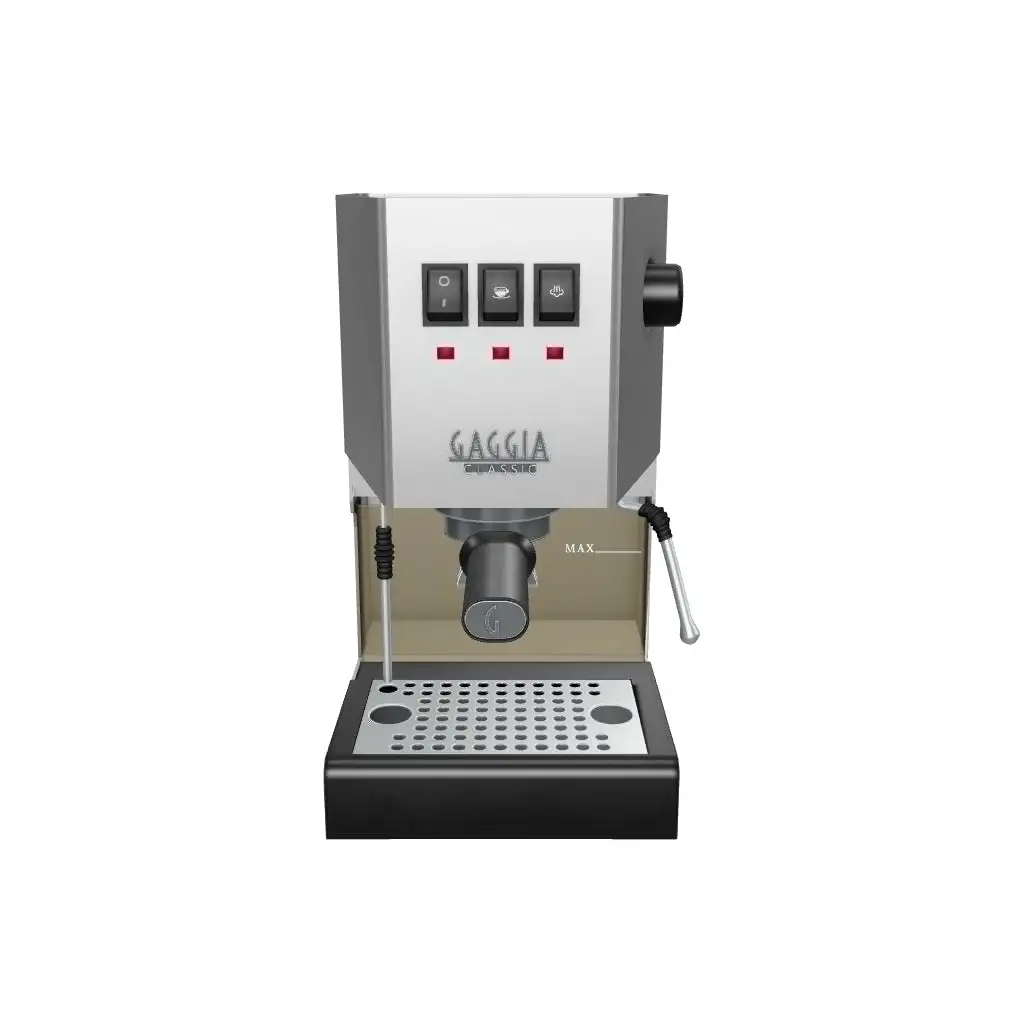
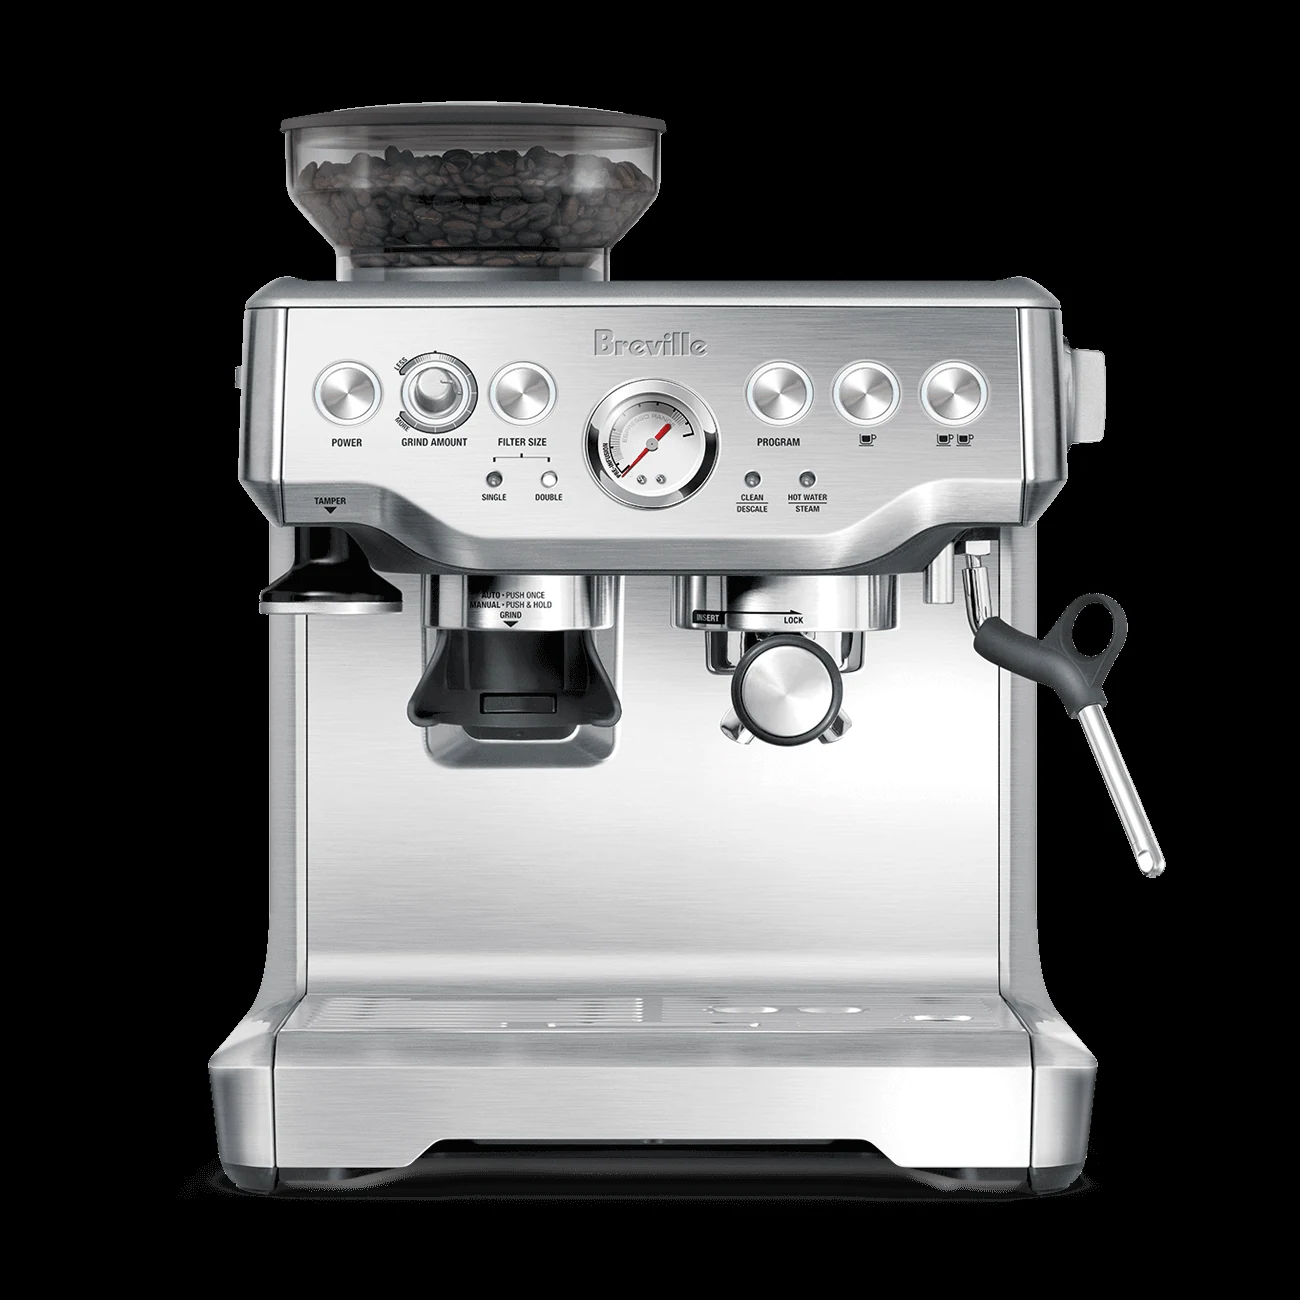
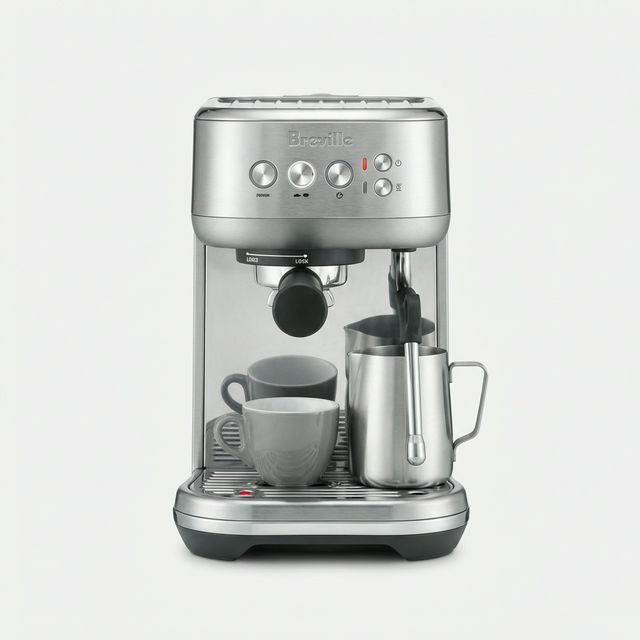
The right machine depends on how much you want to learn and how much you want to spend. A semi-automatic gives you control over the grind, dose, and extraction time while handling water temperature and pump pressure. A super-automatic does everything at the press of a button. For most people starting out, a semi-automatic in the $300–$700 range hits the sweet spot of quality and learning potential. Here are three proven options that cover different needs.
Setting Up Your Station
Before you pull a single shot, spend ten minutes organizing your workspace. Place your grinder next to your machine with a tamping mat between them. Keep your scale, tamper, and knock box within arm's reach. A clean, logical layout makes your morning workflow faster and your counter less chaotic. Our station setup guide covers this in detail, including tips for small kitchens.
Your First Espresso Shot
Heat your machine for at least 15 minutes. Weigh 18 grams of fresh beans and grind them fine—finer than table salt, coarser than powder. Distribute the grounds evenly in the portafilter, tamp firmly and level, then lock it in and start brewing. Place a scale under your cup and stop the shot when it reads 36 grams. The whole extraction should take roughly 25–30 seconds. If it's faster, grind finer. If it's slower, grind coarser. That's the entire feedback loop. Our espresso brewing guide breaks down each step with troubleshooting tips.
Steaming Milk
Once you can pull a decent shot, milk drinks are the next frontier. The key is getting your milk to the right temperature (140–150°F for lattes) with a smooth, glossy microfoam—no big bubbles. Purge your steam wand, submerge the tip just below the surface, introduce air for two to three seconds, then sink the wand deeper and let it spin the milk into a velvety texture. Our milk steaming guide covers technique for every milk type, and when you're ready for patterns, check out the latte art guide.
Dialing In: The First Week
Your first few shots will probably taste off. That's normal. Here's how to spend your first week productively:
- Days 1–2: Focus only on getting a consistent 18g in, 36g out, in 25–30 seconds. Don't worry about taste yet—just hit the numbers.
- Days 3–4: Start tasting critically. Sour means under-extracted (grind finer). Bitter means over-extracted (grind coarser). Change one variable at a time.
- Days 5–7: Experiment with dose (try 17g or 19g) and ratio (try 1:2.5 for lighter roasts). Write down what you change and what it tastes like.
The biggest mistake beginners make is changing multiple variables at once. Pick one thing—usually grind size—and adjust only that until your shot tastes balanced.
How to Use a Breville Espresso Machine
Breville machines are the most popular home espresso machines for a reason: they're well-built, widely available, and have excellent community support. Whether you have a Bambino Plus, Barista Express, or Barista Touch, the core workflow is the same. Fill the water tank, load the hopper (or use a single-dose workflow with the Bambino), select your grind size, and press the brew button. Breville's 54mm portafilter is slightly smaller than the commercial 58mm standard, but it's easier to work with and produces excellent results. The integrated grinder on the Barista Express and Barista Touch simplifies setup, though many experienced users eventually pair a Bambino with a standalone grinder for better grind quality. See our full Breville lineup comparison for help choosing between models.
Maintenance Basics
A clean machine makes better espresso and lasts longer. After every session, knock out the spent puck, rinse the portafilter, and wipe down the steam wand. Once a week, run a backflush cycle with water only (or with cleaning tablets if your machine supports it). Every one to three months, descale your machine to remove mineral buildup. These habits take less than five minutes and prevent the most common machine problems. Our maintenance guide has the full schedule.
Where to Go Next
You now have everything you need to start making real espresso at home. As your skills grow, explore our best machines for home use roundup, dive into grinder reviews for your next upgrade, or browse bean recommendations to find your favorite roast. The learning never really stops—and that's the fun part.